
The Ultimate Vehicle Restoration Guide: From Junk Car Removals to Professional Detailing
Restoring a vehicle is more than a mechanical project; it is a labor of love that combines engineering, history, and artistry. Whether you are unearthing a forgotten classic from a barn or attempting to breathe new life into a neglected daily driver, the journey from a weathered shell to a showroom masterpiece is one of the most rewarding experiences a car enthusiast can undertake. However, the path is fraught with challenges that require patience, a clear strategy, and a realistic budget.
A successful restoration is built on a foundation of proper sequencing. Jumping into the cosmetic phase before addressing the structural or mechanical health of the vehicle is a recipe for “Rider’s Remorse”—a situation where a beautiful car remains undrivable or unsafe. This guide provides a comprehensive, step-by-step roadmap to navigate the complexities of restoration. We will explore how to evaluate your starting point, manage the recovery of the vehicle, overhaul the mechanical systems, and finally, achieve a finish that rivals the day the car first rolled off the assembly line.
Phase 1: Clearing the Slate and Initial Recovery
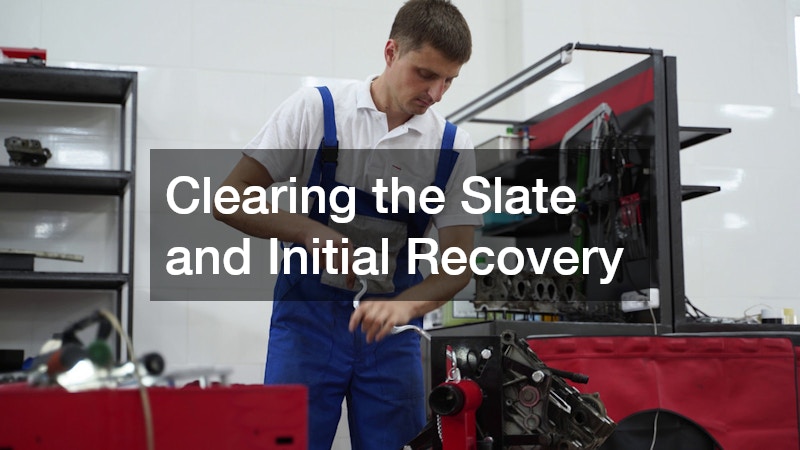
The first step in any restoration journey is a cold, hard assessment of the “patient.” Not every car is a candidate for restoration. Sometimes, the cost of repair far exceeds the eventual market value or personal utility of the vehicle. This is particularly true when dealing with severe structural rot or “flood cars” with compromised electrical looms. If you have multiple vehicles on your property and realize some are truly beyond saving, the most efficient move is to arrange for junk car removals. Clearing out the “parts cars” that are taking up space and leaching fluids into the ground provides you with the physical and financial room to focus on the primary project.
Once you have selected your project car, the logistics of moving it to a dedicated workspace become the priority. Project cars rarely run, and even if they do, their brakes and tires are usually untrustworthy. You should never attempt to tow a “project” with a simple rope or a light-duty truck. Instead, coordinating with professional towing companies is a critical safety step. A flatbed trailer is the gold standard here, as it ensures that the vehicle’s suspension and frame aren’t subjected to the stresses of a “two-wheel” tow, which can bend aged components or damage the transmission.
Title Verification:
Ensure you have the legal paperwork in order before the car even enters the shop; a restoration without a title is a financial dead end.
Fluid Drainage:
Before moving a car that has sat for years, drain the fuel and oil to prevent leaks during transport.
Photo Documentation:
Take 360-degree photos of the car in its “as-found” state for insurance appraisals and historical records.
Inventory of Parts:
Label every trim piece and bolt as you begin the initial teardown; you will not remember where they go six months from now.
Phase 2: Restoring Safety and Road Readiness
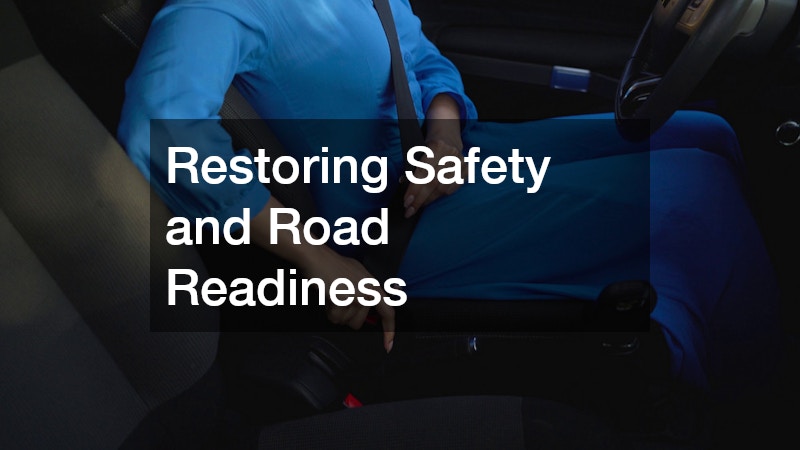
Once the vehicle is in the shop, the impulse is to start on the bodywork, but safety must come first. A car that looks fast but cannot stop is a liability. The most critical system to overhaul is the braking assembly. After years of dormancy, brake fluid absorbs moisture, which leads to internal corrosion of the lines and seizing of the calipers. A comprehensive brake repair is non-negotiable. This involves flushing the lines, replacing rubber hoses with stainless steel alternatives, and ensuring that the master cylinder is providing consistent pressure. Without a reliable anchor, your restoration is merely a stationary sculpture.
Once the car can stop, you can focus on the heart of the machine. The first “start-up” after a long period of sitting requires more than just a new battery. You must inspect the fuel system for “varnish” and the cooling system for blockages. This foundational car repair phase sets the tone for the vehicle’s reliability. It is also the time to consider the logistics of the “Maiden Voyage.” Even a perfectly rebuilt engine can have teething issues. Having a subscription to a reliable auto roadside assistance plan is a vital safety net for those first few hundred miles of testing. It provides peace of mind, knowing that if a forty-year-old gasket decides to fail on a backroad, you won’t be stranded.
Brake Line Inspection:
Look for “sweating” or cracks in the rubber; if they look old, they are dangerous.
Fuel System Purge:
Never run an engine on “old gas”; it will clog injectors and ruin the carburetor.
Cooling System Pressure Test:
Ensure the radiator can handle the heat before you take the car out in summer traffic.
The Safety Kit:
Keep a fire extinguisher and a basic tool kit in the trunk during the entire testing phase.
Phase 3: Structural Integrity and Bodywork
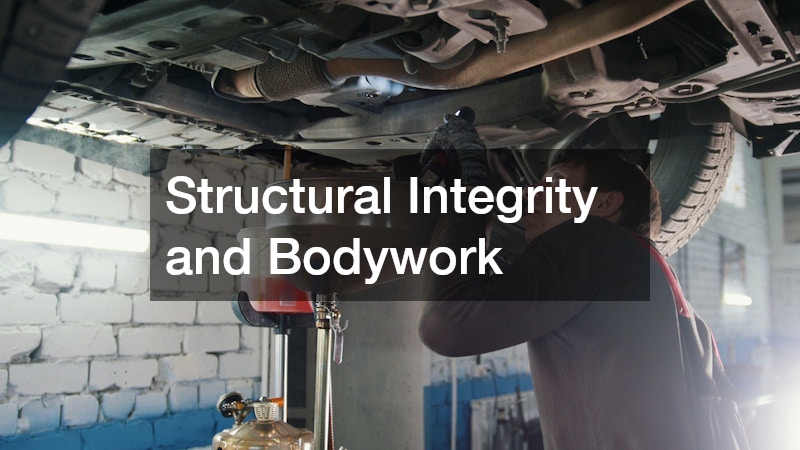
With the mechanics stabilized, the focus shifts to the “bones” of the vehicle. This is often the most labor-intensive part of the restoration. Decades of door dings and minor collisions leave behind a “history” that must be erased. For smaller imperfections where the paint hasn’t been broken, a professional car dent repair service can save you hundreds of hours of sanding and painting. Paintless dent removal (PDR) is an art form that uses specialized rods to “massage” the metal back into its original shape, preserving the factory finish and keeping the restoration as authentic as possible.
However, many restoration projects involve more than just dings; they involve the “cancer” of the automotive world: rust. Addressing significant rot or collision damage requires deep auto body repairs. This might involve cutting out entire floor pans or welding in new quarter panels. The goal here is to minimize the use of “filler” (often called Bondo). A high-quality restoration relies on “metal finishing,” where the steel itself is worked until it is nearly perfect. Only then is a thin layer of primer applied to seal the work. This stage is the foundation for the final paint job; if the bodywork is wavy, the paint will only highlight the flaws.
The Magnet Test:
Run a magnet over the body panels; if it doesn’t stick, you’re looking at a thick layer of plastic filler instead of metal.
Rust Neutralization:
Use a high-quality phosphate-based converter on any surface rust before priming.
Panel Alignment:
Check “gap consistency” between the doors and the fenders; poor gaps are a sign of a low-quality restoration.
Media Blasting:
For total restorations, consider stripping the frame to bare metal to ensure you are starting with a clean slate.
Phase 4: Aesthetic Customization and Surface Protection

Now that the car is straight and safe, it is time to address the “curb appeal.” This phase begins with the most thorough cleaning the vehicle has ever seen. A standard car wash isn’t enough at this stage. You need to perform a multi-step decontamination involving a clay bar to remove embedded metallic fallout and an iron remover to clean the pores of the metal. The surface must be surgically clean before any aesthetic enhancements are applied. This is also the time to decide on the “identity” of the car. Many restorers choose to add a custom car decal to celebrate the car’s heritage—think racing stripes on a Mustang or a subtle “pinstripe” to accentuate the body lines.
Customization is what makes a restoration your own. Whether you are aiming for a 100% “numbers matching” factory look or a “restomod” with modern flares, the application of vinyl and graphics must be handled with precision. Any air bubbles or misalignment in a decal will ruin the professional look of the exterior. After the customization is complete, the focus shifts to “Paint Correction.” This involves using high-speed polishers and varying grades of abrasive compounds to remove “swirl marks” and achieve a mirror-like reflection in the clear coat.
Clay Bar Technique:
Always use plenty of lubricant; the clay should glide over the surface, “plucking” out contaminants.
Decal Preparation:
Wipe the area with isopropyl alcohol before application to ensure the adhesive bonds permanently.
Polishing Safety:
Tape off plastic trim and rubber seals before using a machine polisher to avoid staining them with white residue.
Lighting Check:
Inspect your work under high-intensity LED lights; sunlight often hides “holograms” left behind by poor polishing.
Phase 5: The Final Flourish and Long-Term Preservation
The exterior may be shining, but the restoration isn’t complete until the interior matches the outside. This is where the vehicle becomes a “living space.” A comprehensive car detailing service is required to revive aged leather, shampoo decades-old carpets, and deep-clean the headliner. A true professional detailer will use steam to sanitize the air vents and specialized conditioners to prevent the dashboard from cracking under UV exposure. The goal is to recreate that “new car smell” and the tactile feeling of factory-fresh materials.
Long-term preservation is the final chapter. You have invested thousands of dollars and hours into this machine; now you must protect that investment. In 2026, the standard for protection has shifted from traditional wax to ceramic coatings and Paint Protection Film (PPF). These modern solutions provide a “sacrificial layer” that protects your paint from stone chips and environmental acids. Additionally, maintaining the mechanical health through a consistent car detailing service that includes the engine bay ensures that leaks are spotted early and the undercarriage remains free of corrosive road salt.
Leather Conditioning:
Use pH-balanced cleaners; harsh chemicals will strip the natural oils and lead to premature “crazing” or cracking.
Engine Bay Detailing:
A clean engine runs cooler and makes it much easier to identify the source of an oil or coolant leak.
Ceramic Coating:
This provides a “hydrophobic” surface that makes the car significantly easier to wash in the future.
Climate Control:
If possible, store your restored vehicle in a humidity-controlled environment to prevent “flash rust” on the suspension components.
The Strategic Importance of Documentation and Community
A frequently overlooked aspect of a high-level restoration is the creation of a “provenance file.” This is an exhaustive collection of every receipt, every photograph taken during the teardown, and every specification sheet for aftermarket parts used. This file serves two critical purposes: it acts as a diagnostic manual for future maintenance, and it provides an undeniable paper trail that substantiates the vehicle’s value to insurance adjusters or potential buyers. In the world of high-end automotive auctions, a car with a documented story of its resurrection consistently commands a premium over a “mystery” build with no history.
Furthermore, engaging with the restoration community can provide invaluable “tribal knowledge” that isn’t found in a standard repair manual. Whether through online forums, local car clubs, or model-specific registries, connecting with others who have restored the same chassis can save you from making expensive mistakes. These communities often have leads on “New Old Stock” (NOS) parts that are otherwise impossible to find through traditional retailers. By participating in this shared culture, you aren’t just fixing a machine; you are becoming a temporary steward of a piece of industrial heritage, ensuring that the techniques and passion required to maintain these vehicles are passed down to the next generation.
Conclusion
Restoring a vehicle is a transformative process that bridges the gap between the past and the present. It begins with the difficult decision of which cars to save and which to relegate to the scrap heap, and it ends with a vehicle that is often better than it was the day it left the factory. The journey requires a diverse set of skills—from the heavy-duty logistics of recovery to the surgical precision of fine detailing—but the result is a tangible piece of history that you can enjoy on the open road.
By following a structured approach—prioritizing safety and structural integrity before moving on to aesthetic flourishes—you ensure that your restoration is built to last. Remember that a car is a rolling testament to your dedication. Keep a meticulous log of your work, save your receipts, and never cut corners on the systems that keep you safe. Whether you are at a local “Cars and Coffee” or cruising a coastal highway, the pride of knowing every bolt and every curve of your machine is a reward that no “new” car can ever provide. The restoration is never truly “finished”; it is a lifelong commitment to preservation and the joy of the drive.


